Monday, September 12, 2011

Color correcting photos with Lightroom

When I first started shooting photos with my D3100 about a week ago, I was of the impression (especiall after seeing some of the images that were shot in auto mode) that the camera could be adjusted enough to take pictures that wouldn't need to be color corrected..... I was wrong. After watching several videos on YouTube, it quickly became apparent that color correction is necessary to really bring your photos to life. Furthermore, it is also a foregone conclusion that if you're going to color correct your photos that you should shoot RAW photos instead of JPEG.

Here is an example of the difference between a color-corrected shot and an uncorrected one.

This is a picture of my dog, Alley. The pic was shot with the kit lens, ISO 1600, 18mm focal-length, f/3.6, 1/6 second shutter time with VR on.
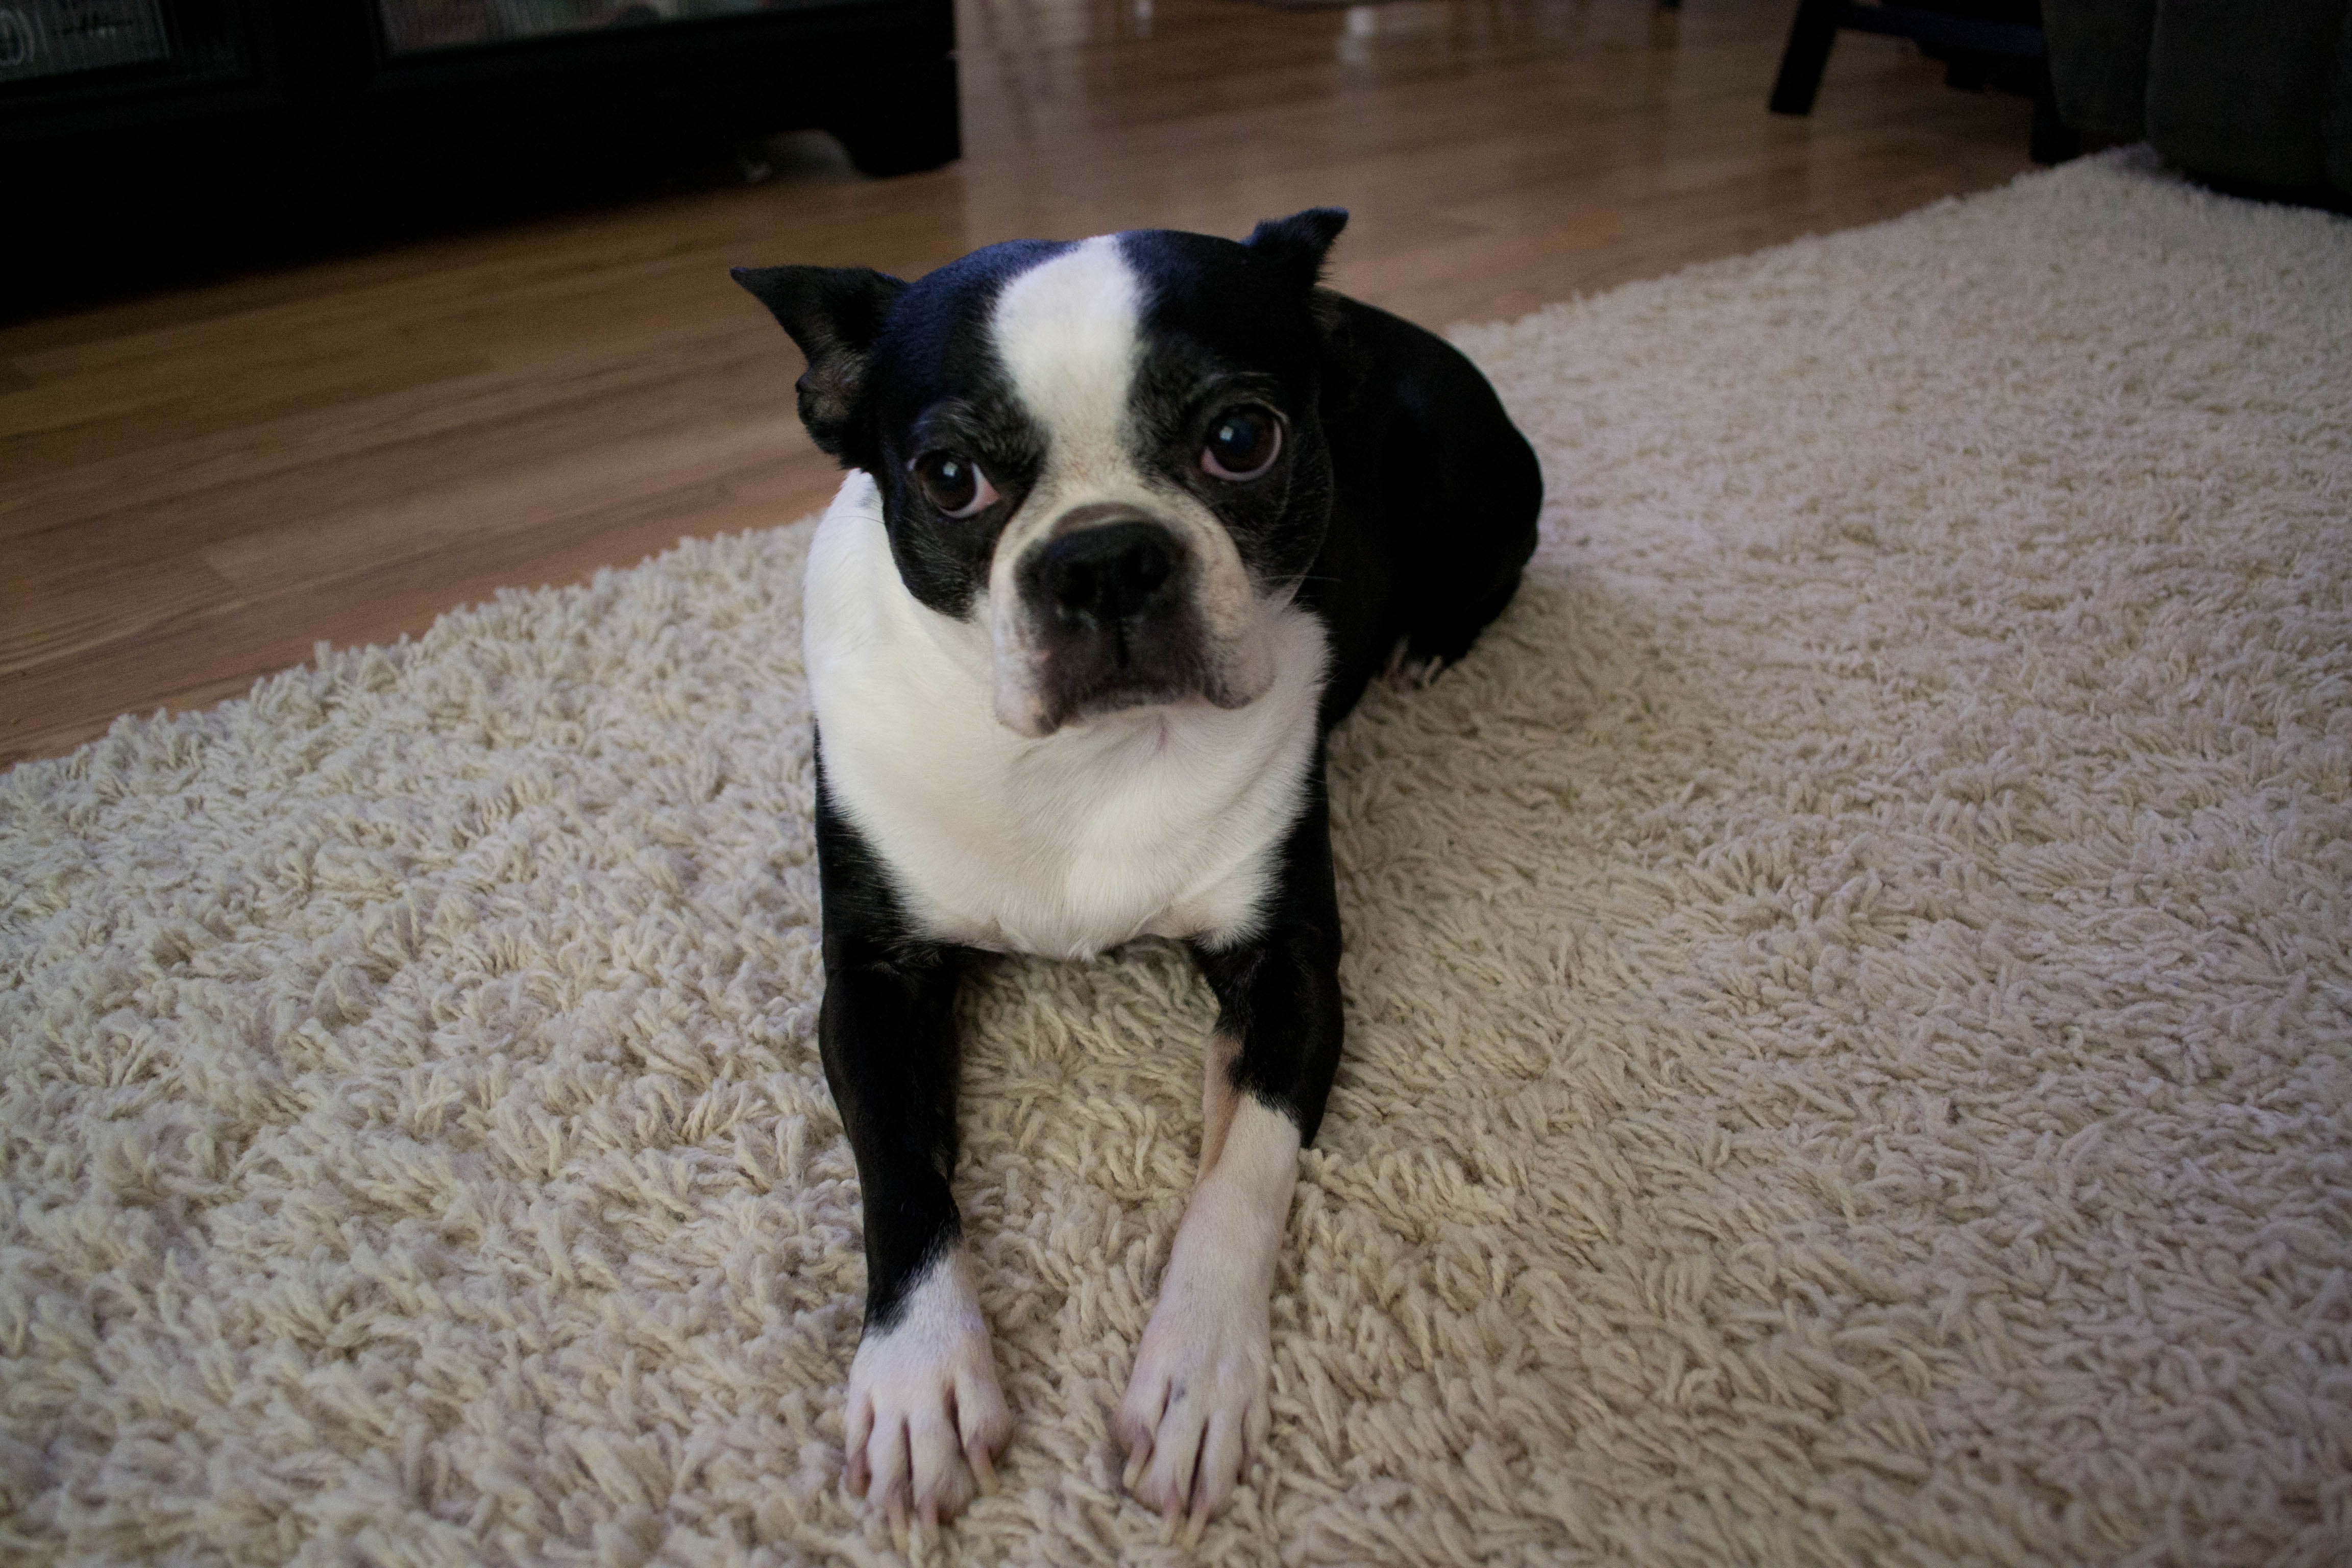

Over all, I thought that the picture came out pretty well given how low the light was in my living room at the time. However, after installing Lightroom and learning how to go about adjusting the color of the photos, this is what I came up with after making a few changes.
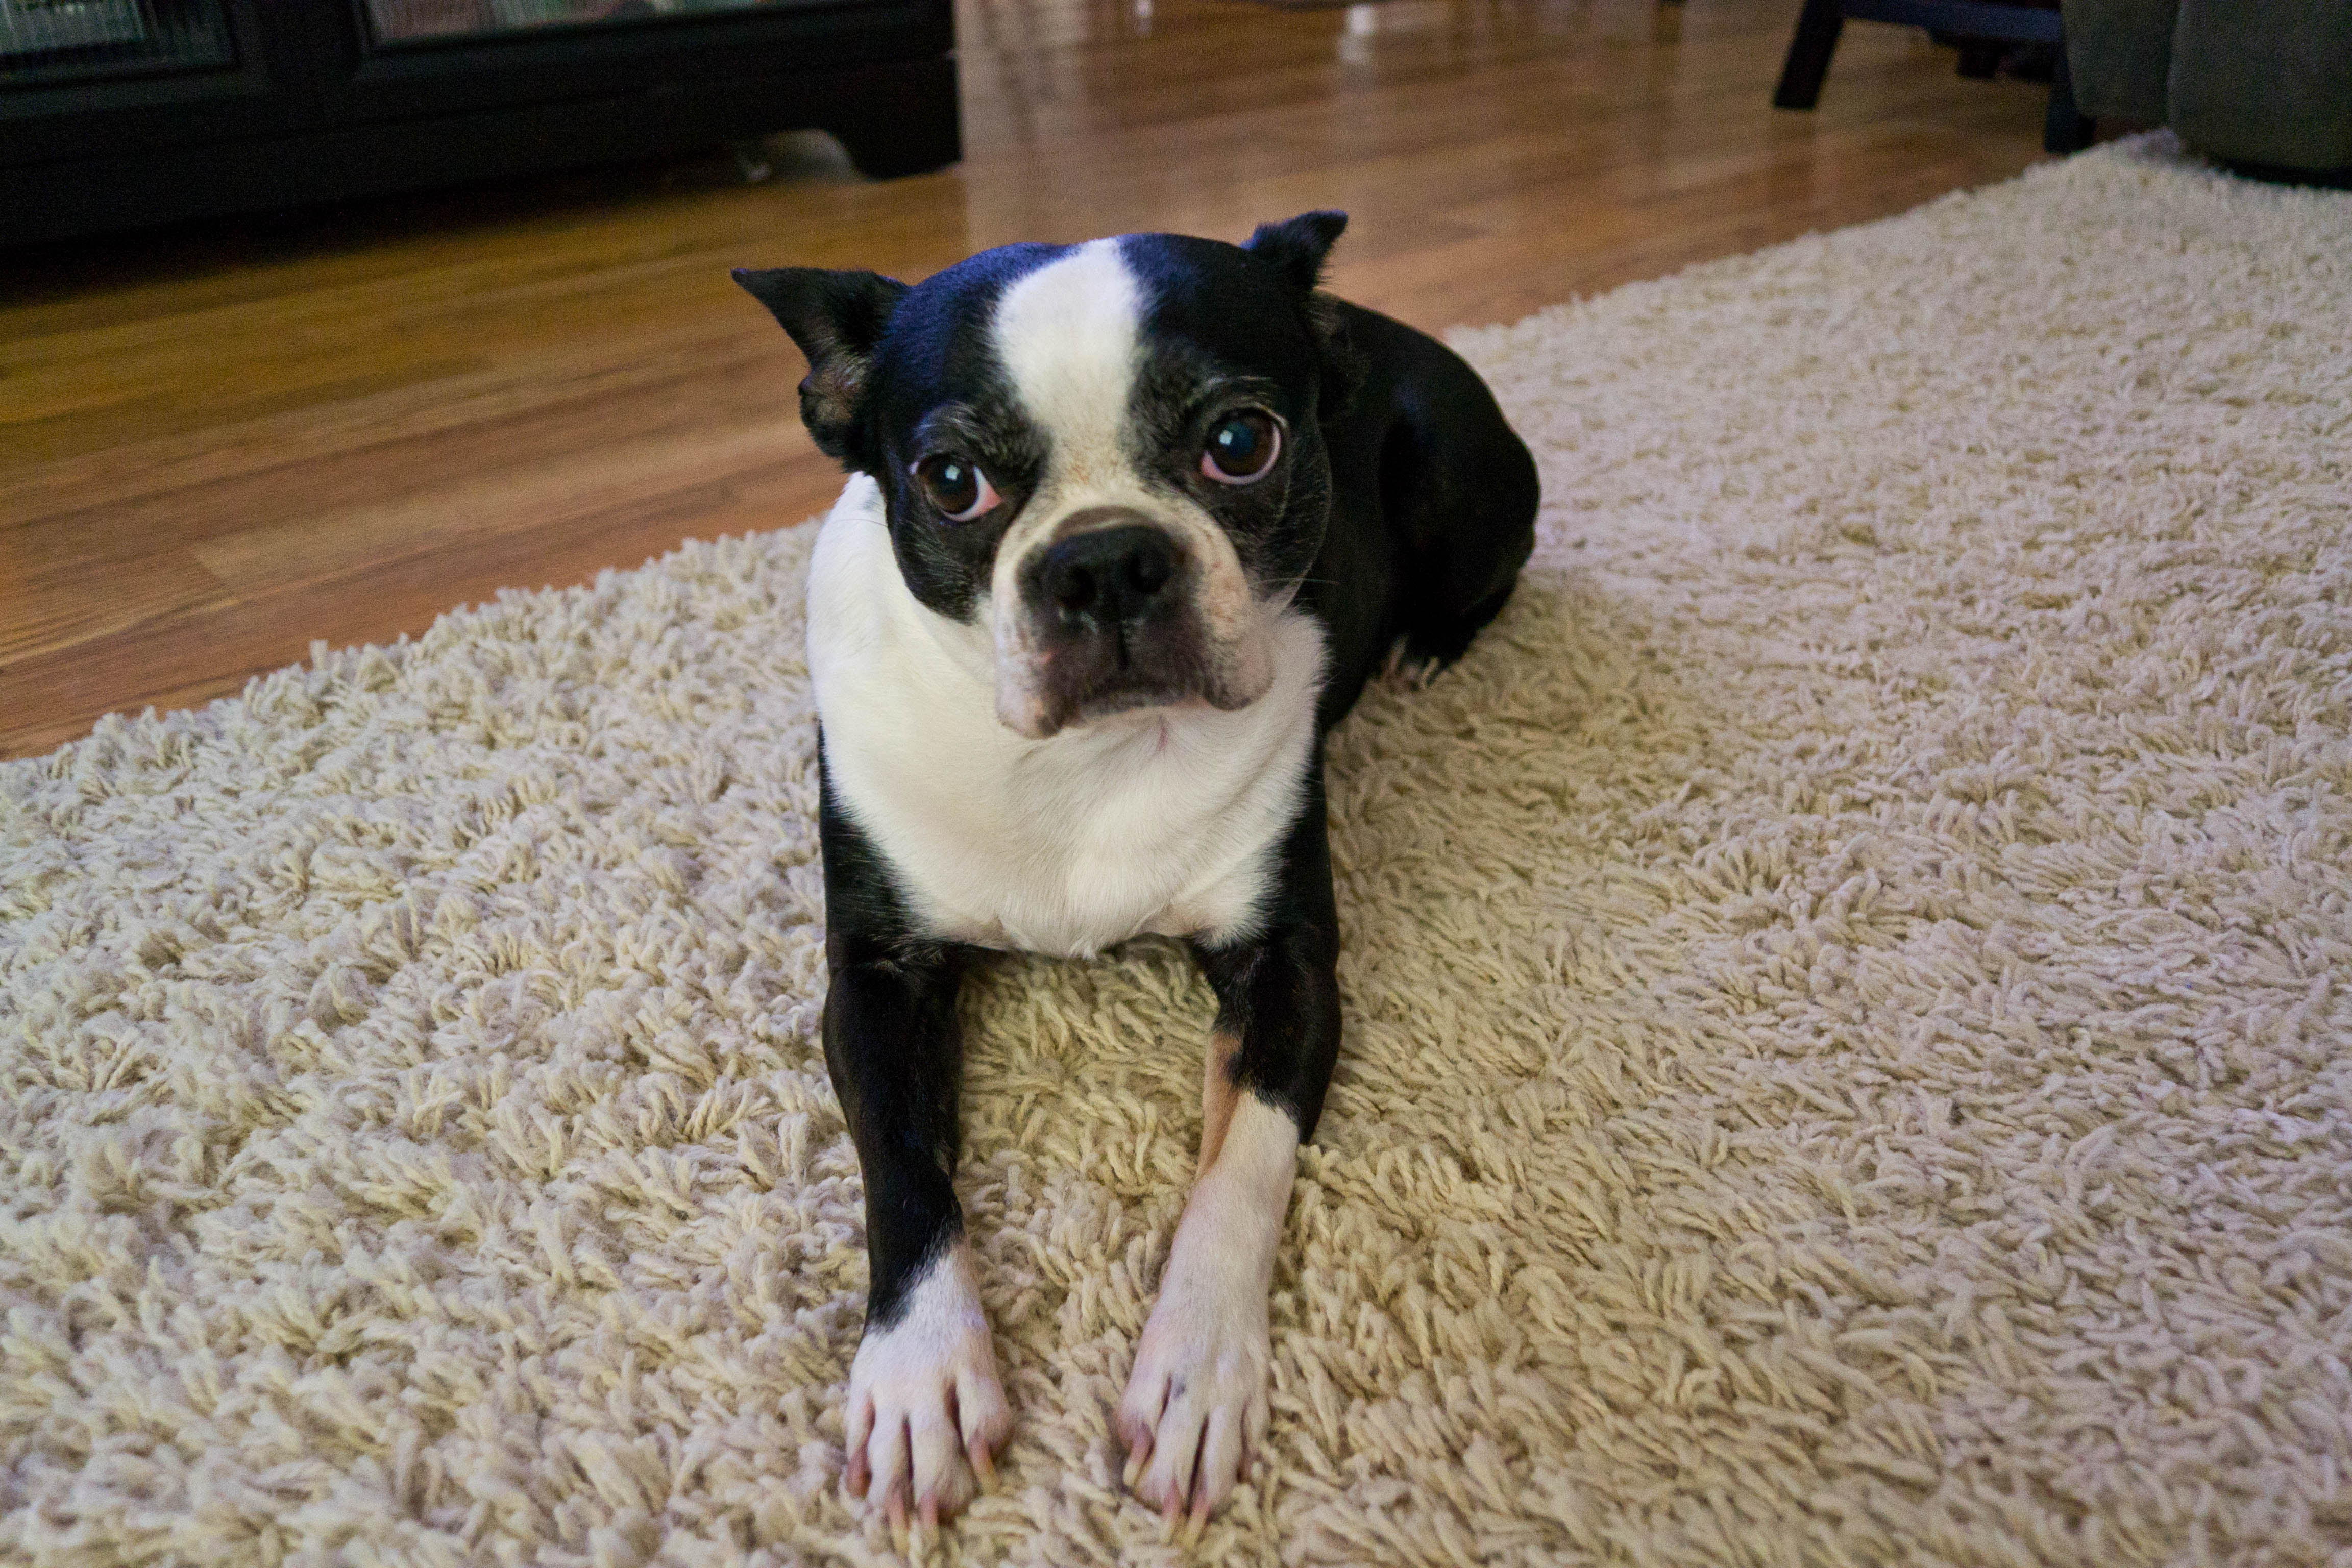

As you can see, the change is relatively subtle, but the second picture is so much nicer than the first. 

One of the biggest reasons that I didn't want to start correcting photos on the computer was I thought that the whole process was time consuming and tedious. However, after using Lightroom for an afternoon, I realized that it wasn't nearly as involved as I originally thought it was. Also, I've only been correcting the photos that I thought turned out well; the rest were culled. Below is a comparison of two more pictures I took, with the first being prior to correction and the latter being post.
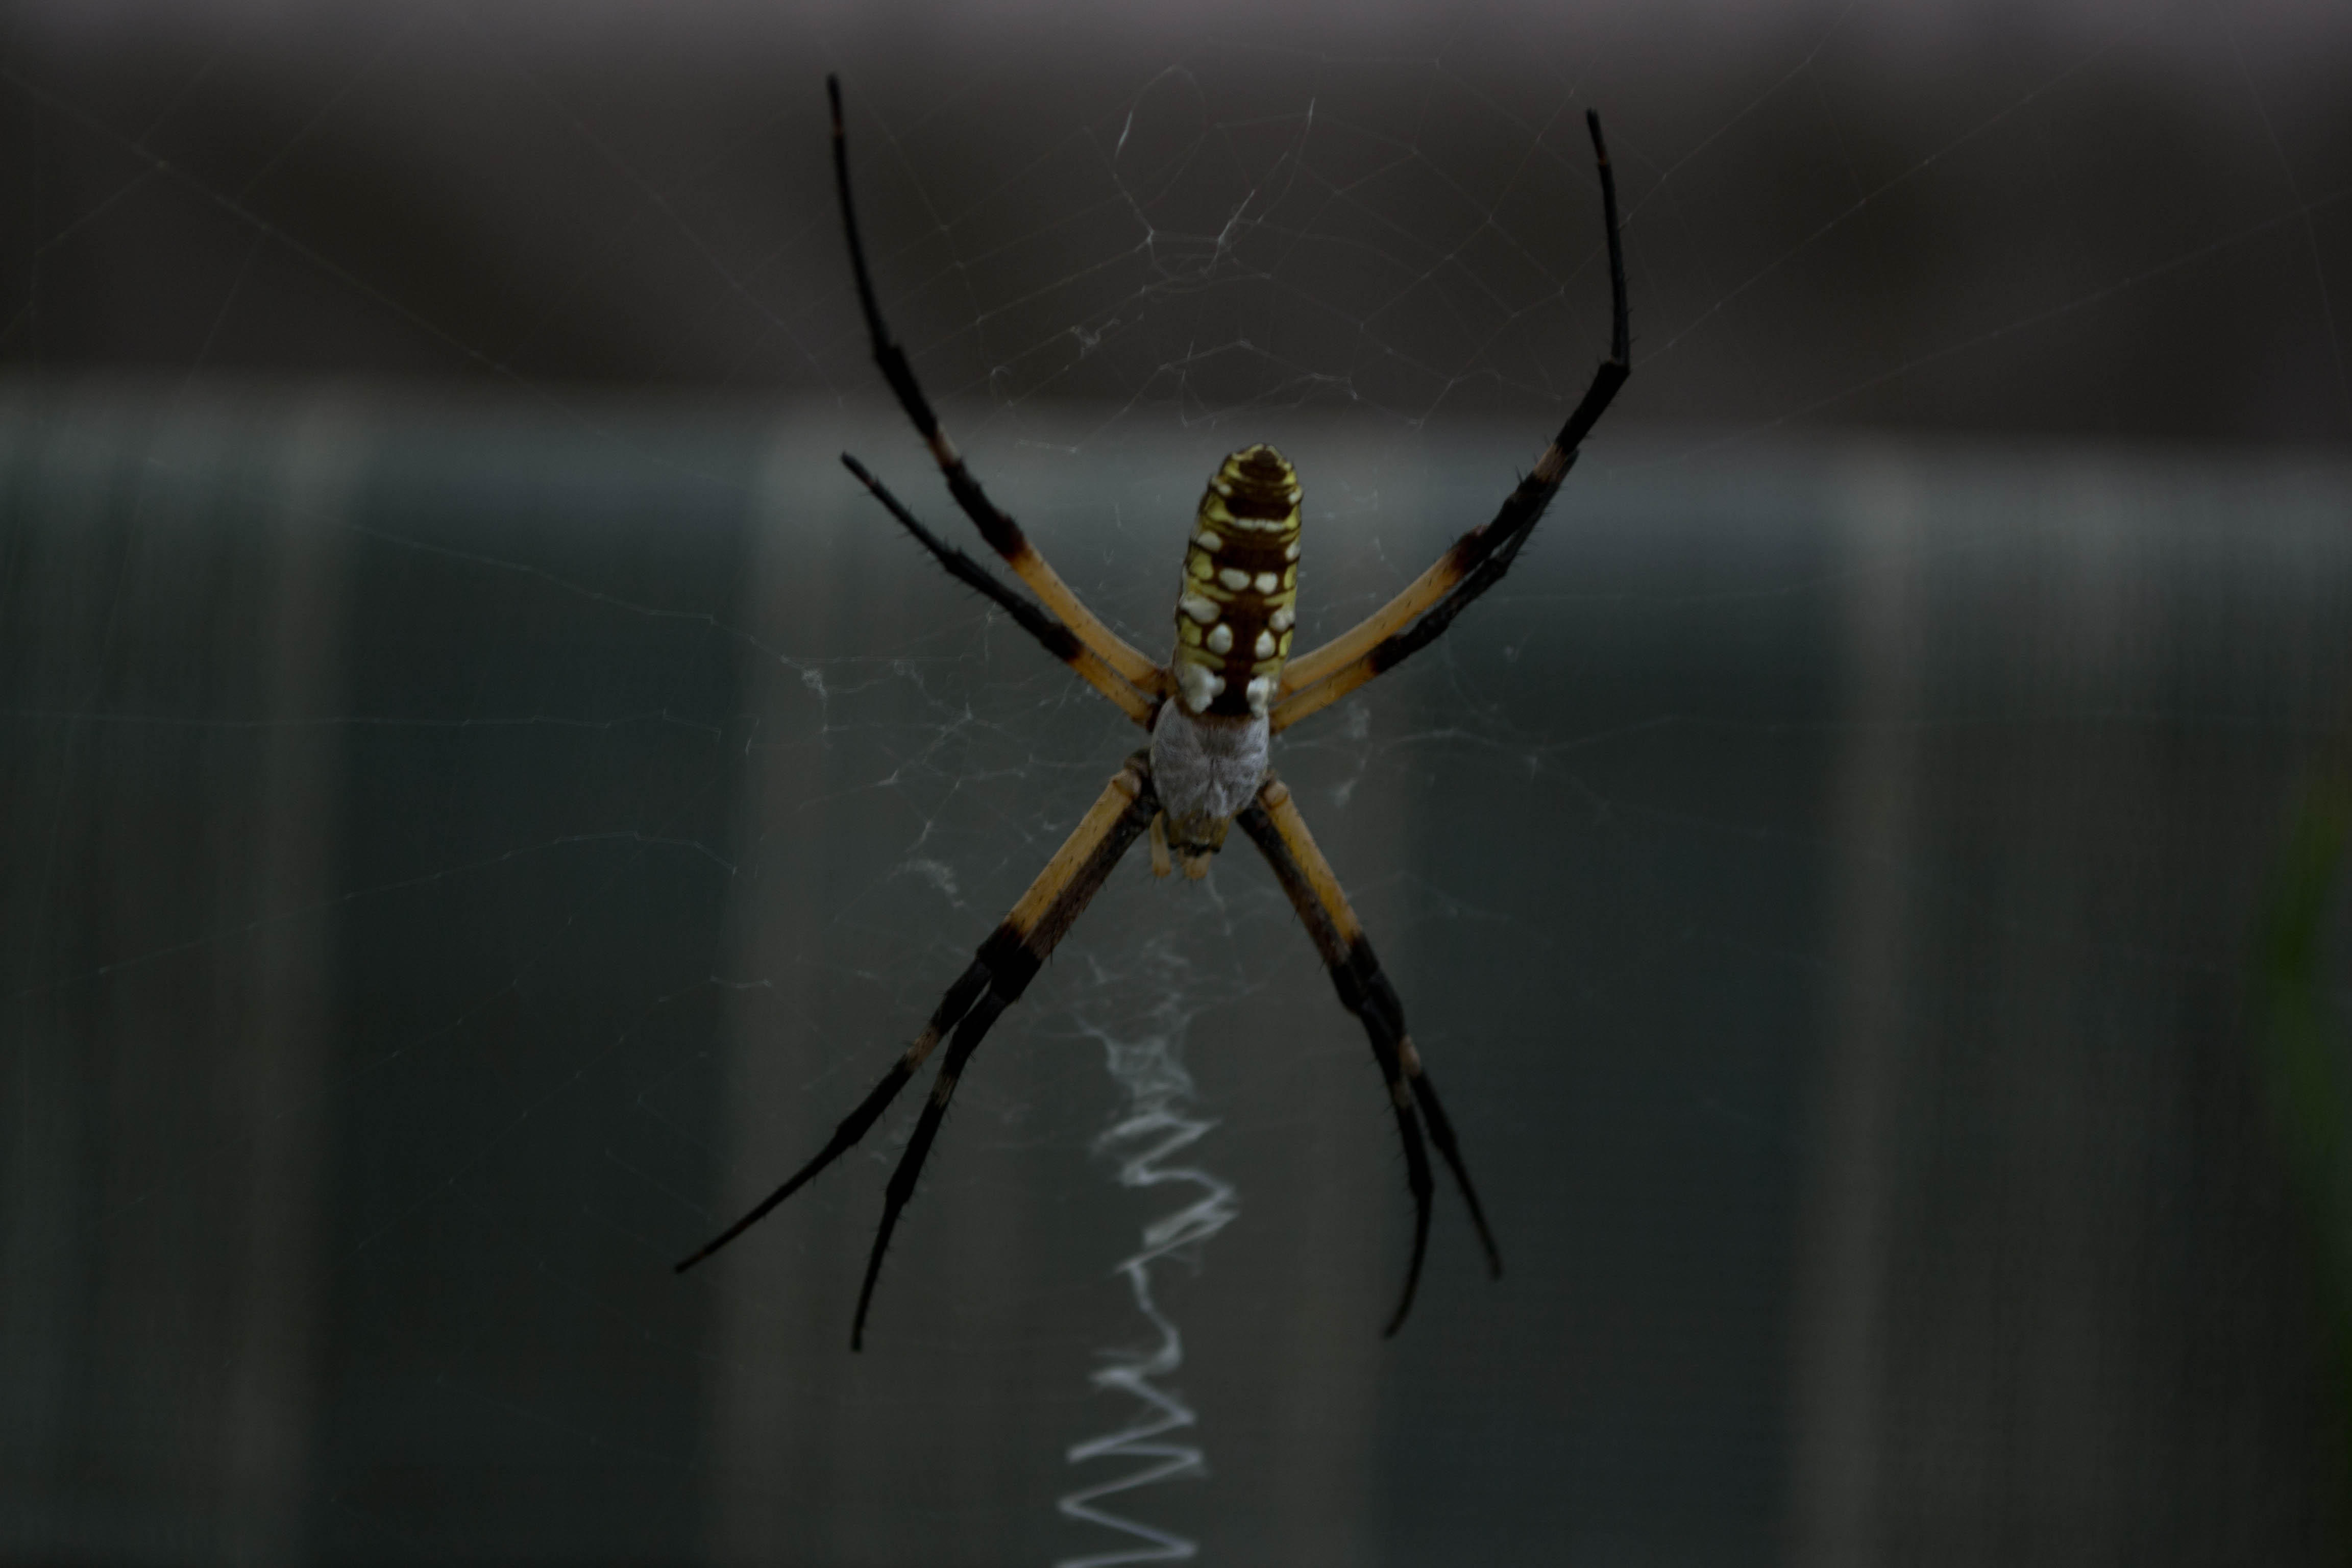
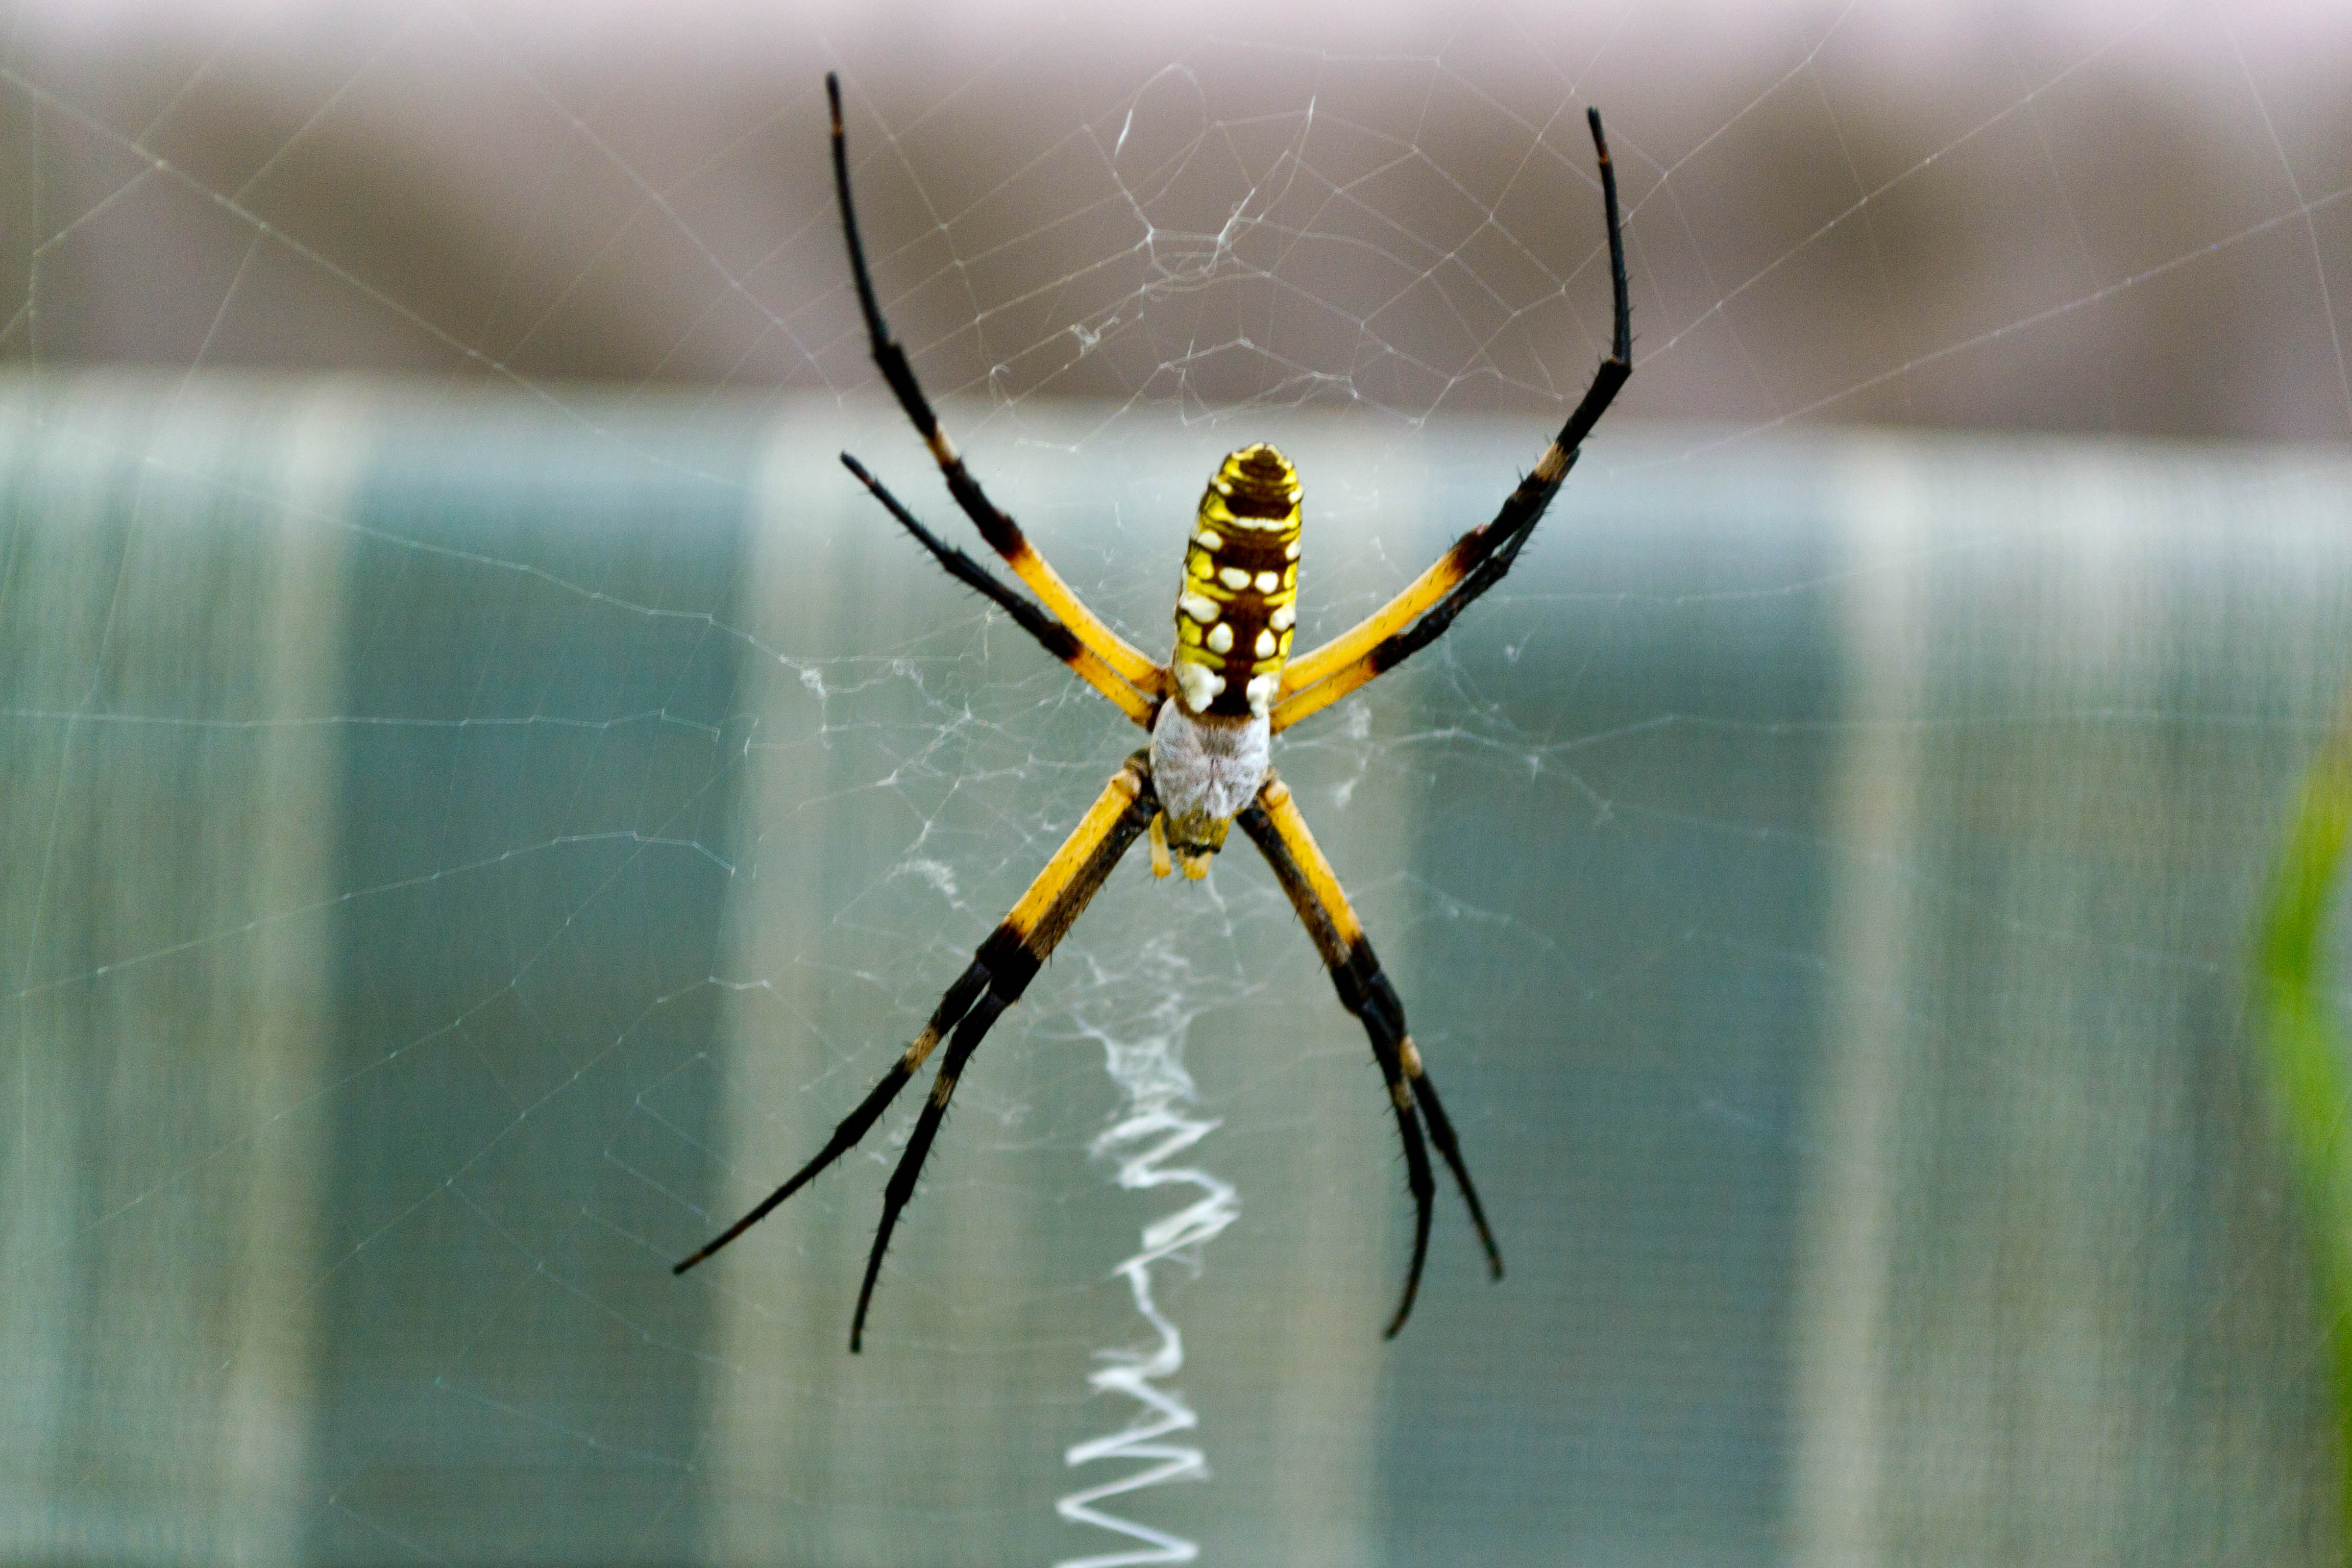
If anything, I over saturated the picture a little after lightening it, but I really wanted the yellow and oranges on the spider to stand out.

Despite the extra time involved, I'll definitely be correcting my photos from now on. The results are just too good to overlook.

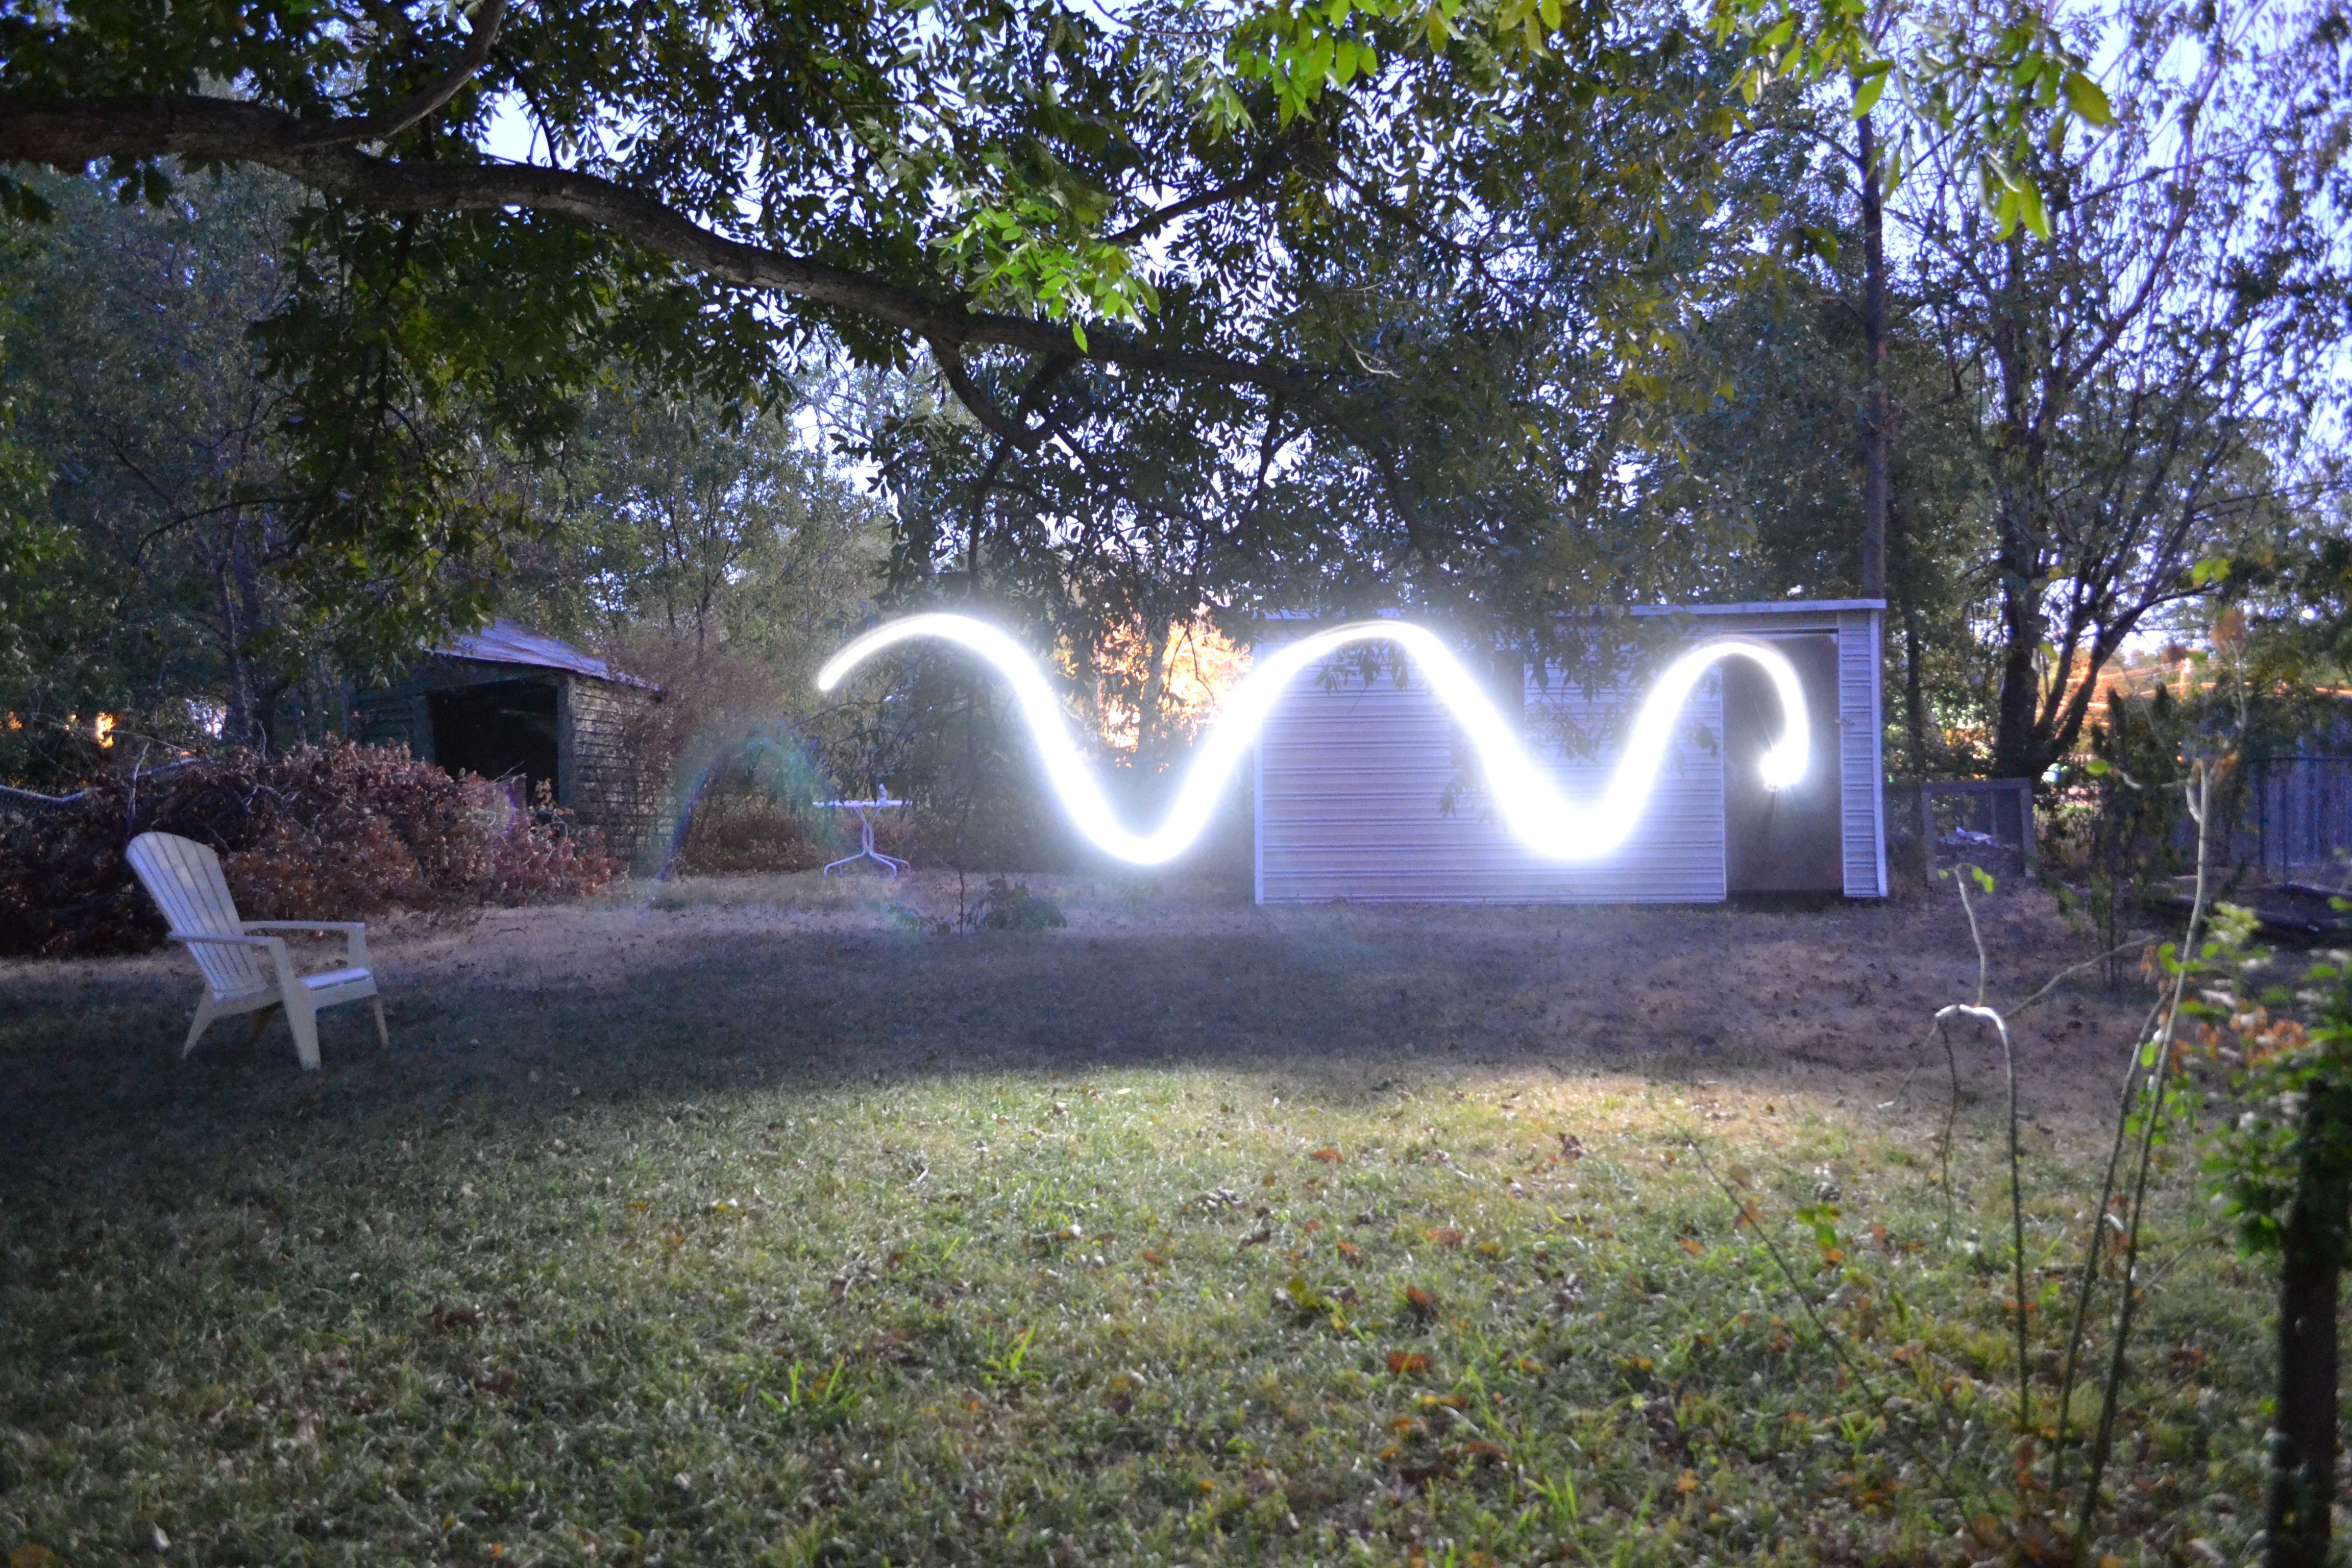
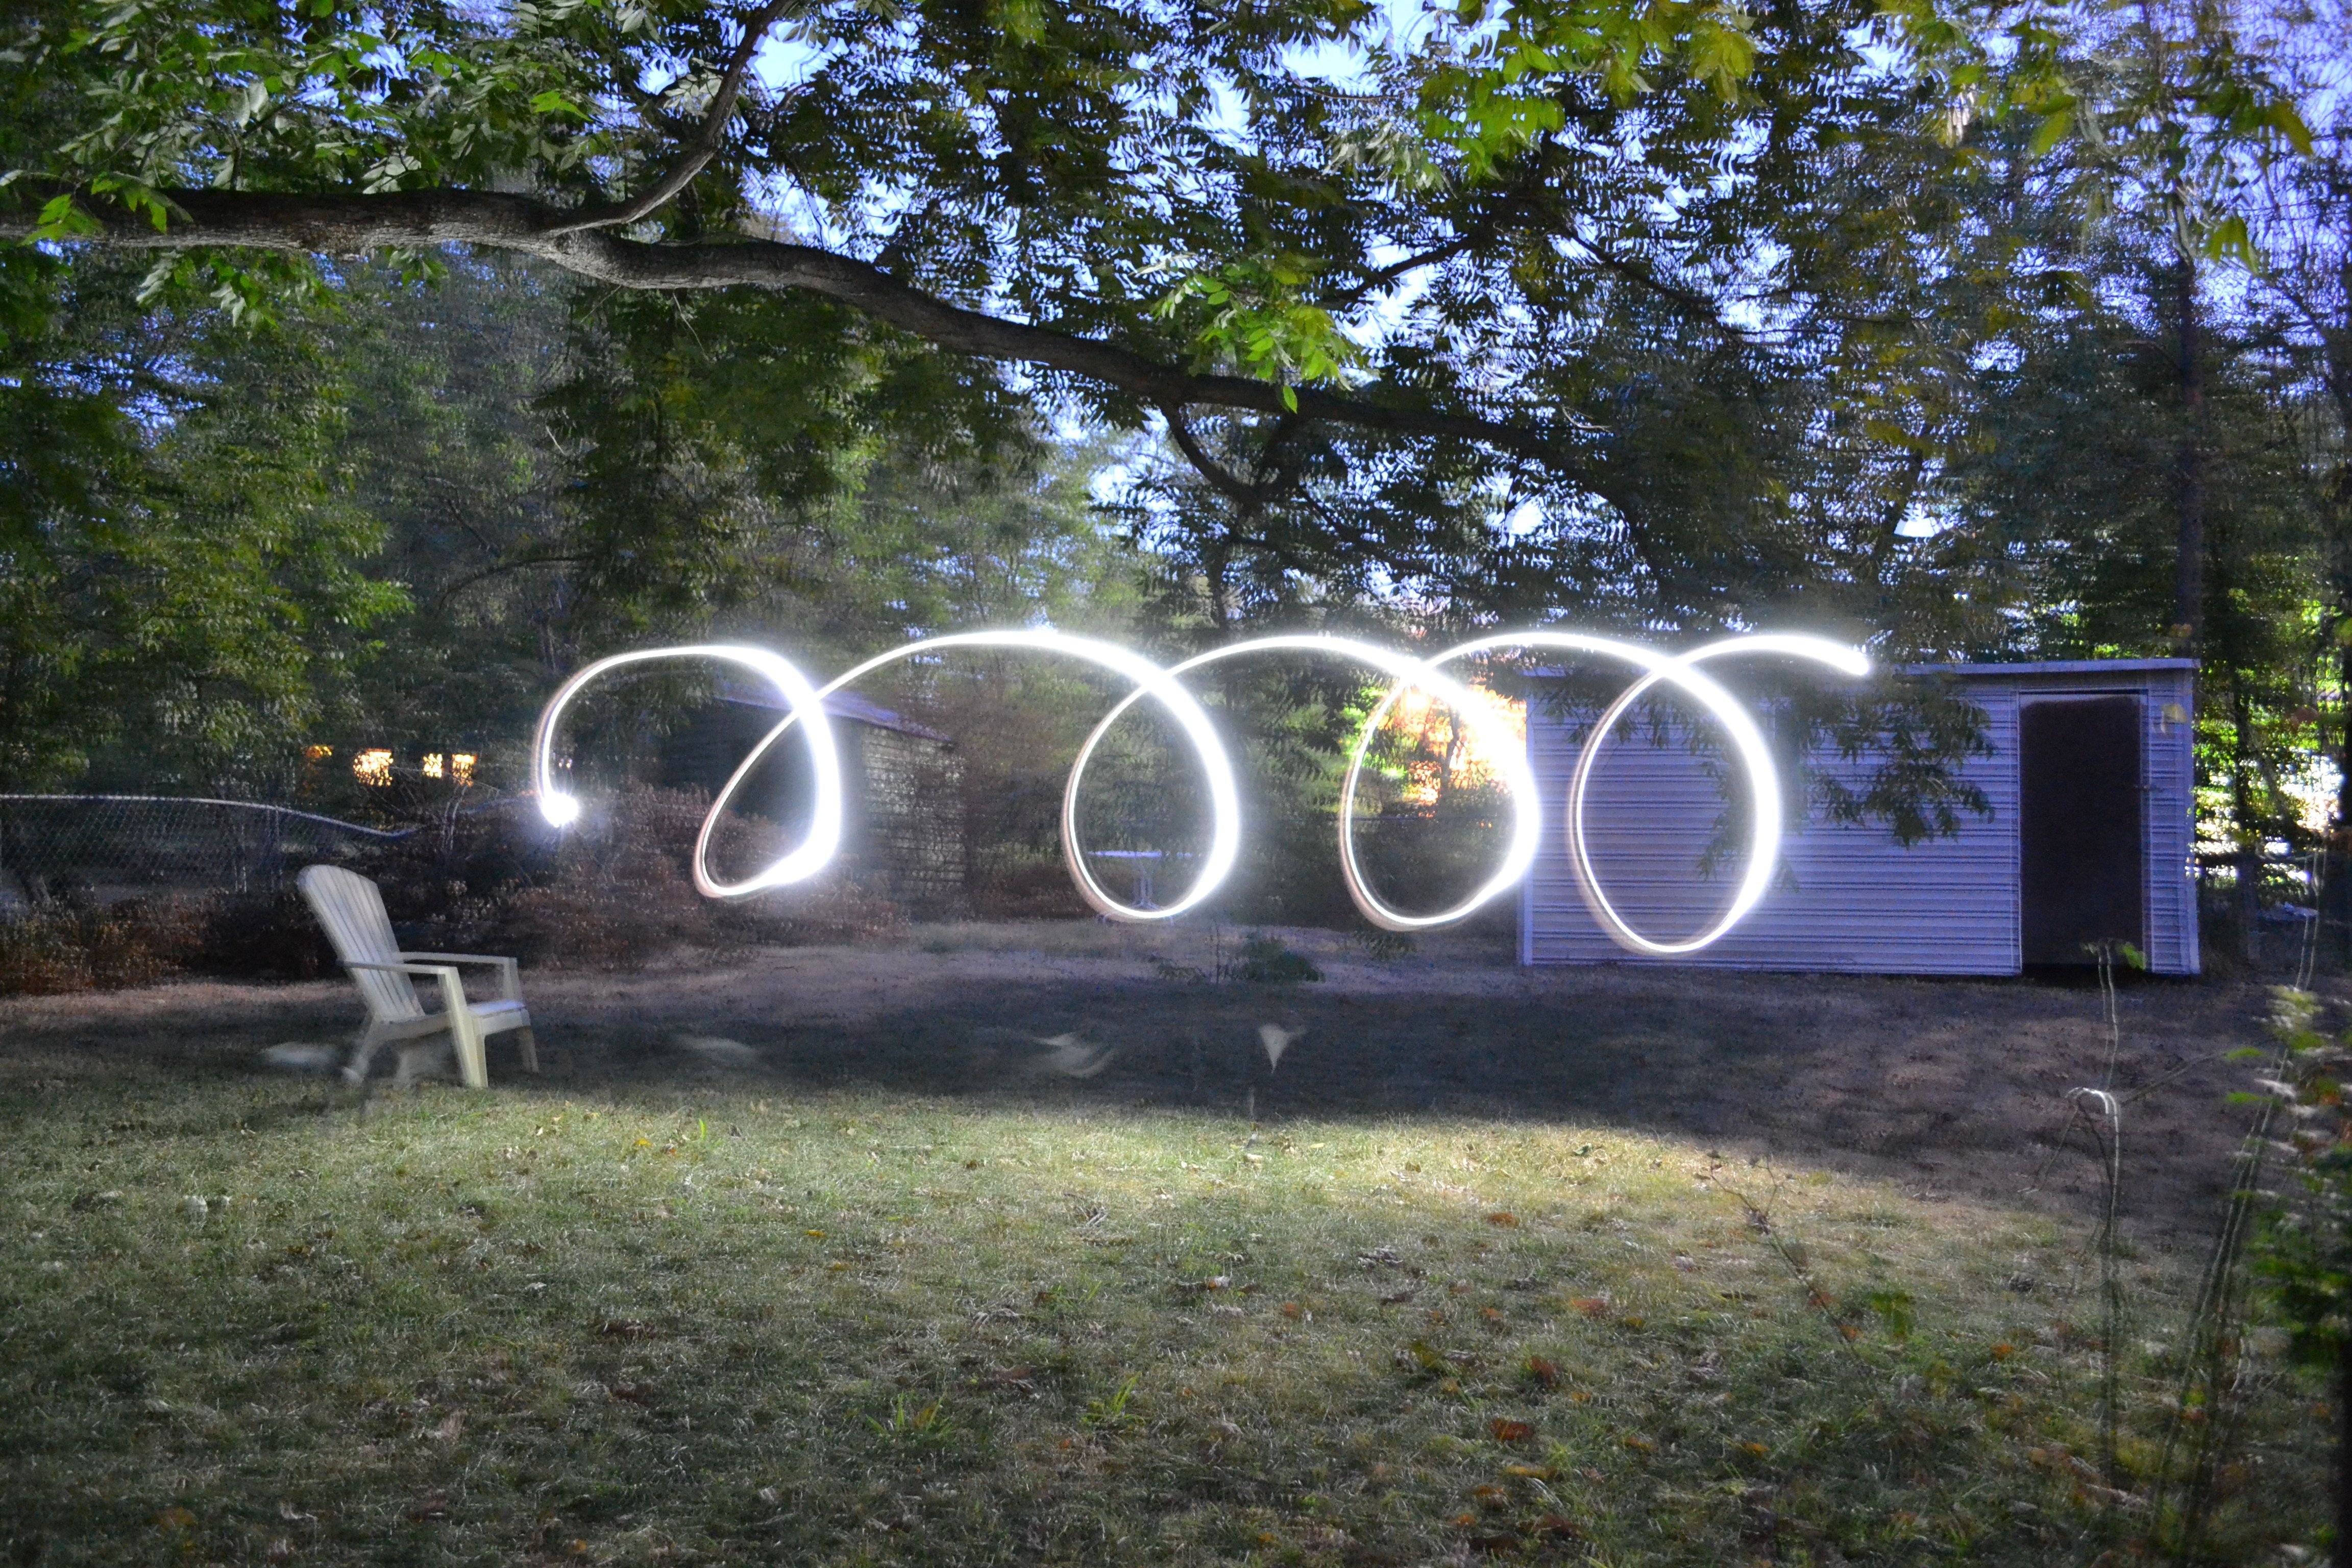
Experimenting with long shutter speeds

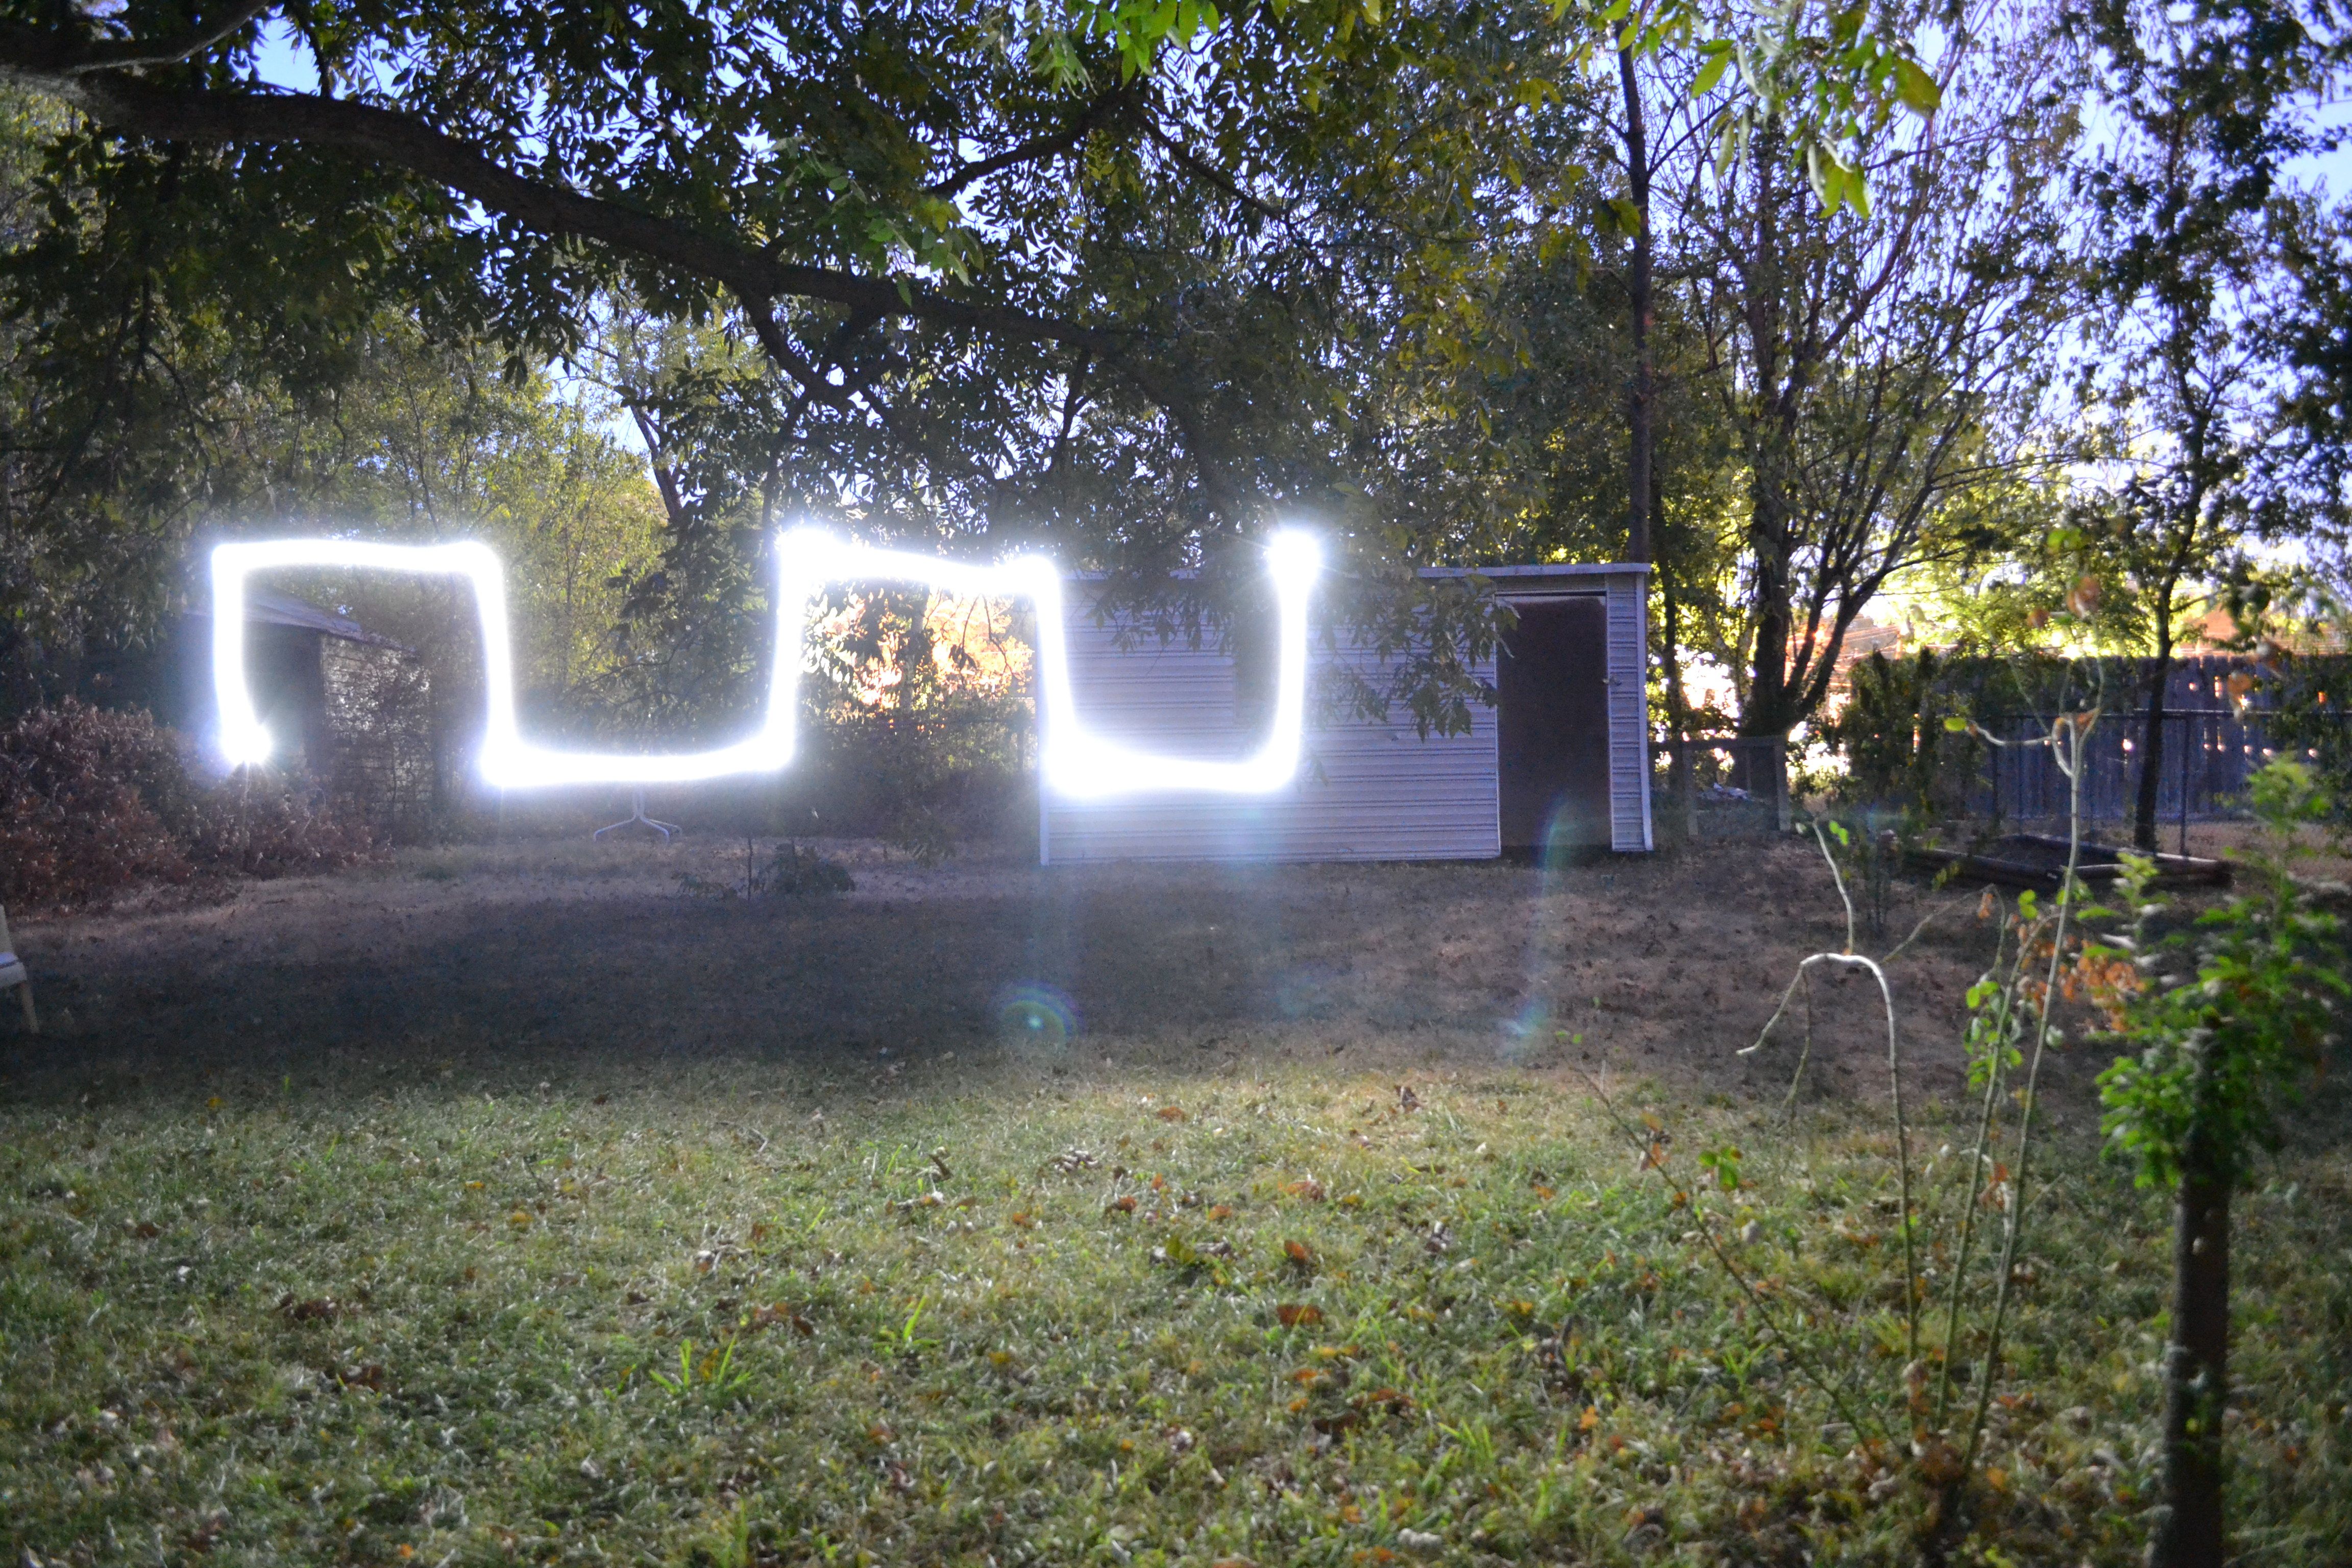
Last week I saw a post on the internet (I wish I could remember where) that showed some really cool pictures that were taken with extremely long shutter times, so I decided that I would see what I could come up with under similar circumstances. The following shots were all shot in shutter priority mode with shutter times of at least 10 seconds. At the time that these pictures were taken, the camera was still set to shoot in JPEG and I haven't tried re-touching them to see what happens. I don't remember the exact time I took these, but it was completely dark outside. The only light (aside from the flashlight used to make the light trails) was from the moon and outdoor lights from any surrounding buildings and houses.


Overall, these are nothing special but it was fun taking these shots none-the-less. This is the first time I've ever had a camera that would allow me to take these kinds of photos, and it was fun to play around with the settings to get the pictures to come out like they did. 

Saturday, September 10, 2011

And it begins....

I have always been interested in photography, but until recently the only cameras that I had ever used on a regular basis were of the point-and-shoot variety. However, in lieu of a trip to Europe later this year, my wife and I purchased a Nikon D3100 DSLR camera, and I've been spending my free time in the afternoons learning how to use it.

Coming from point-and-shoot cameras to the DSLR is quite a change. Never before did I have to worry about ISO, and shutter speed, and aperture size, and flash delay, etc.... At first it was a little over whelming, but with the help of the internet and YouTube, I've managed to take some pretty nice shots for a beginner. Most of my shots thus far have been of my dogs since they're easy to shoot both indoors and out. The pic below was taken in auto mode with the 18-55 kit lens that came with the camera. I retouched it a little in Photoshop to enhance the colors some.


This picture was taken with the same settings, and it came out great! No retouches at all.


And here's one more. This one was taken in auto mode, but I was using manual focus so I could blur the foreground and focus a little deeper in the picture.


In the last few days since getting the camera, I've taken a ton of pictures and some of them look really nice. Last night my wife and I were outside enjoying the cooler weather we've been having lately, and I took some really cool looking pictures with a slower shutter speed and large aperture. I haven't had a chance to go through all of them yet, but I'll pick out the best ones and post them later this weekend. Since I'm in the process of learning the finer points of shooting in manual mode, I'll be sure to post the settings and lens that I use for all my pics in the future.